In this tutorial I am going to show you a much better way to adjust the contrast in your low contrast photos by using the levels and curves tools in either Adobe Photoshop. What I show you can also be done in Adobe Lightroom.
While there is a standard contrast tool in both these and many other image editing programs, they can be rather blunt instruments which don’t allow much room for flexibility. They will simply darken the blacks and brighten the highlights proportionately.
But not every image is suitable for this. A misty or hazy scene is a high key image that is naturally low in contrast, because there are no deep shadows or dark colours within the scene itself. Wacking up the contrast in a scene like this would look totally unnatural.
So with the levels and curves tools, I will show you how you can control how much the highlights are brightened, and how much the shadows are darkened, independently of each other.
See the examples below.
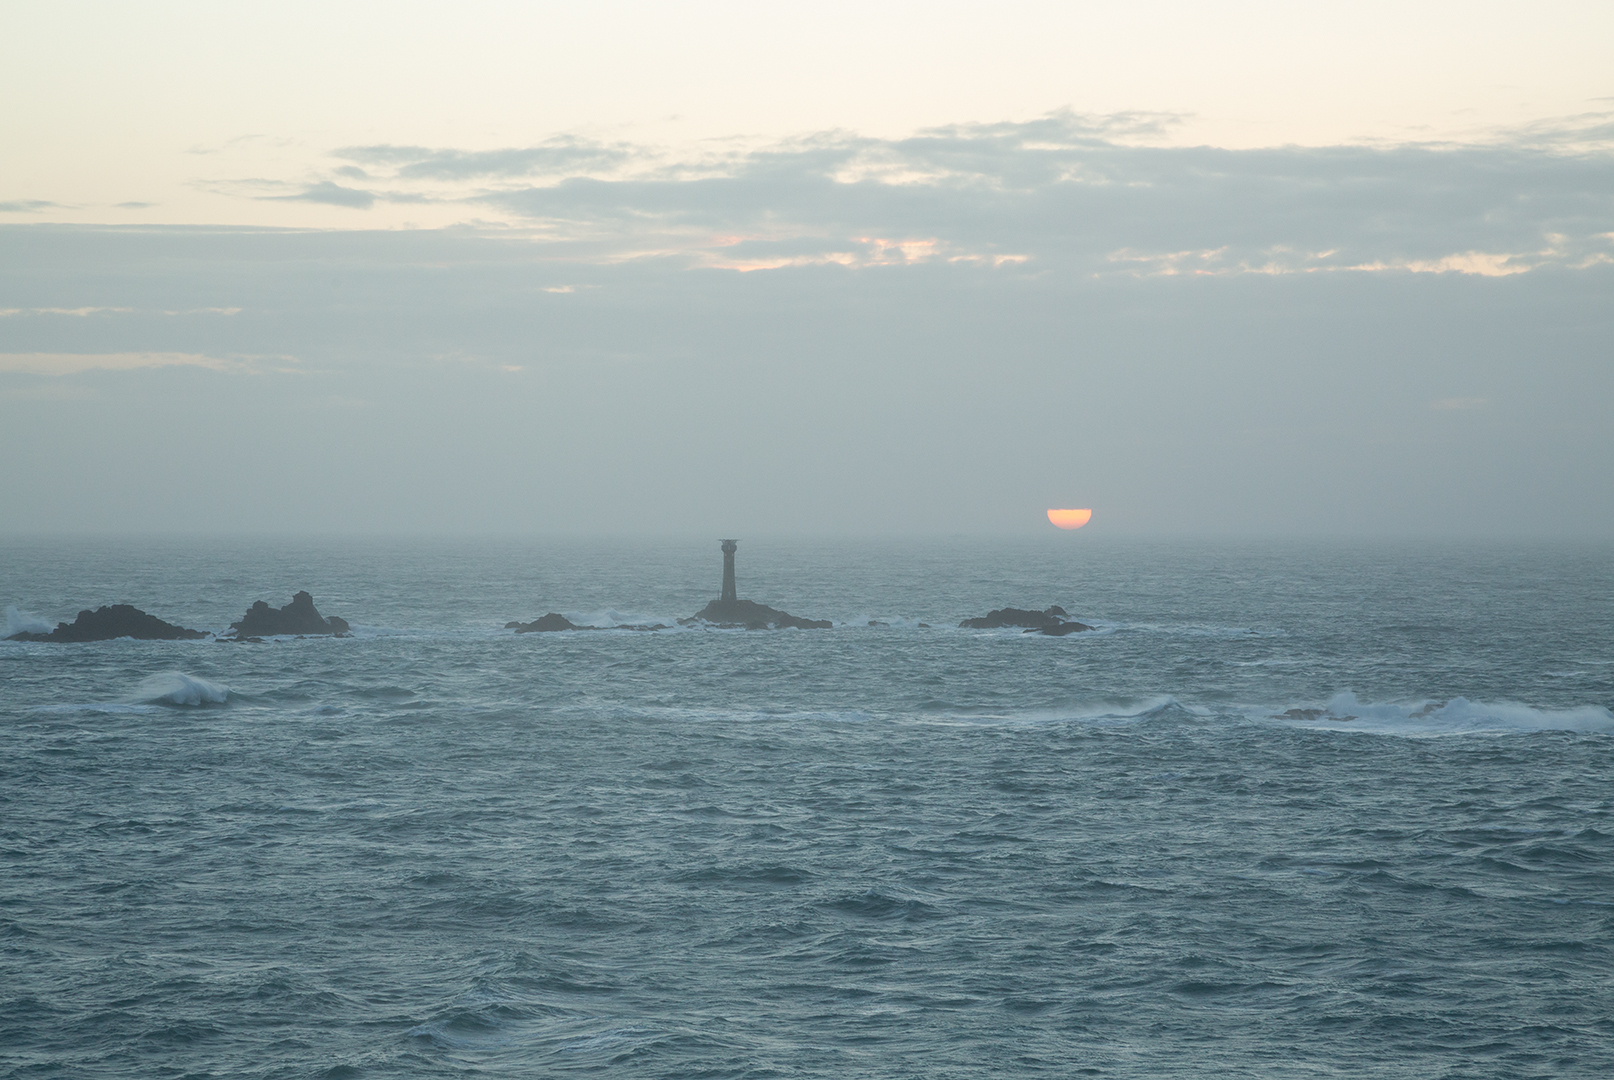
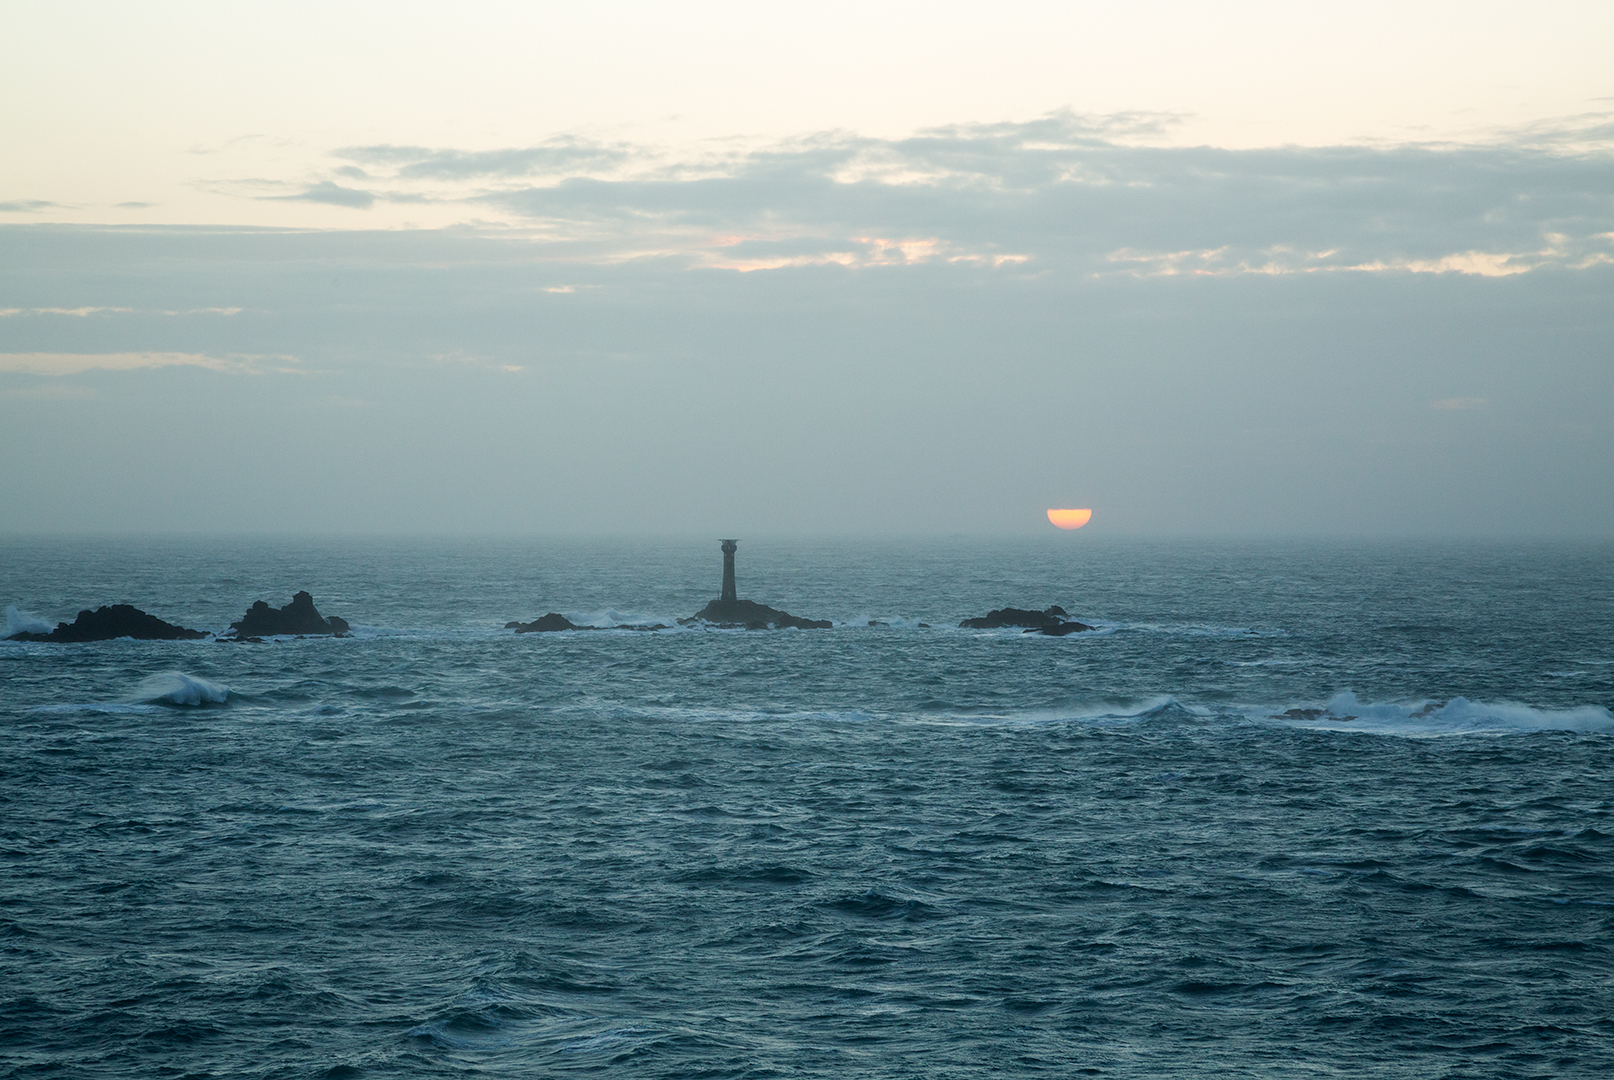

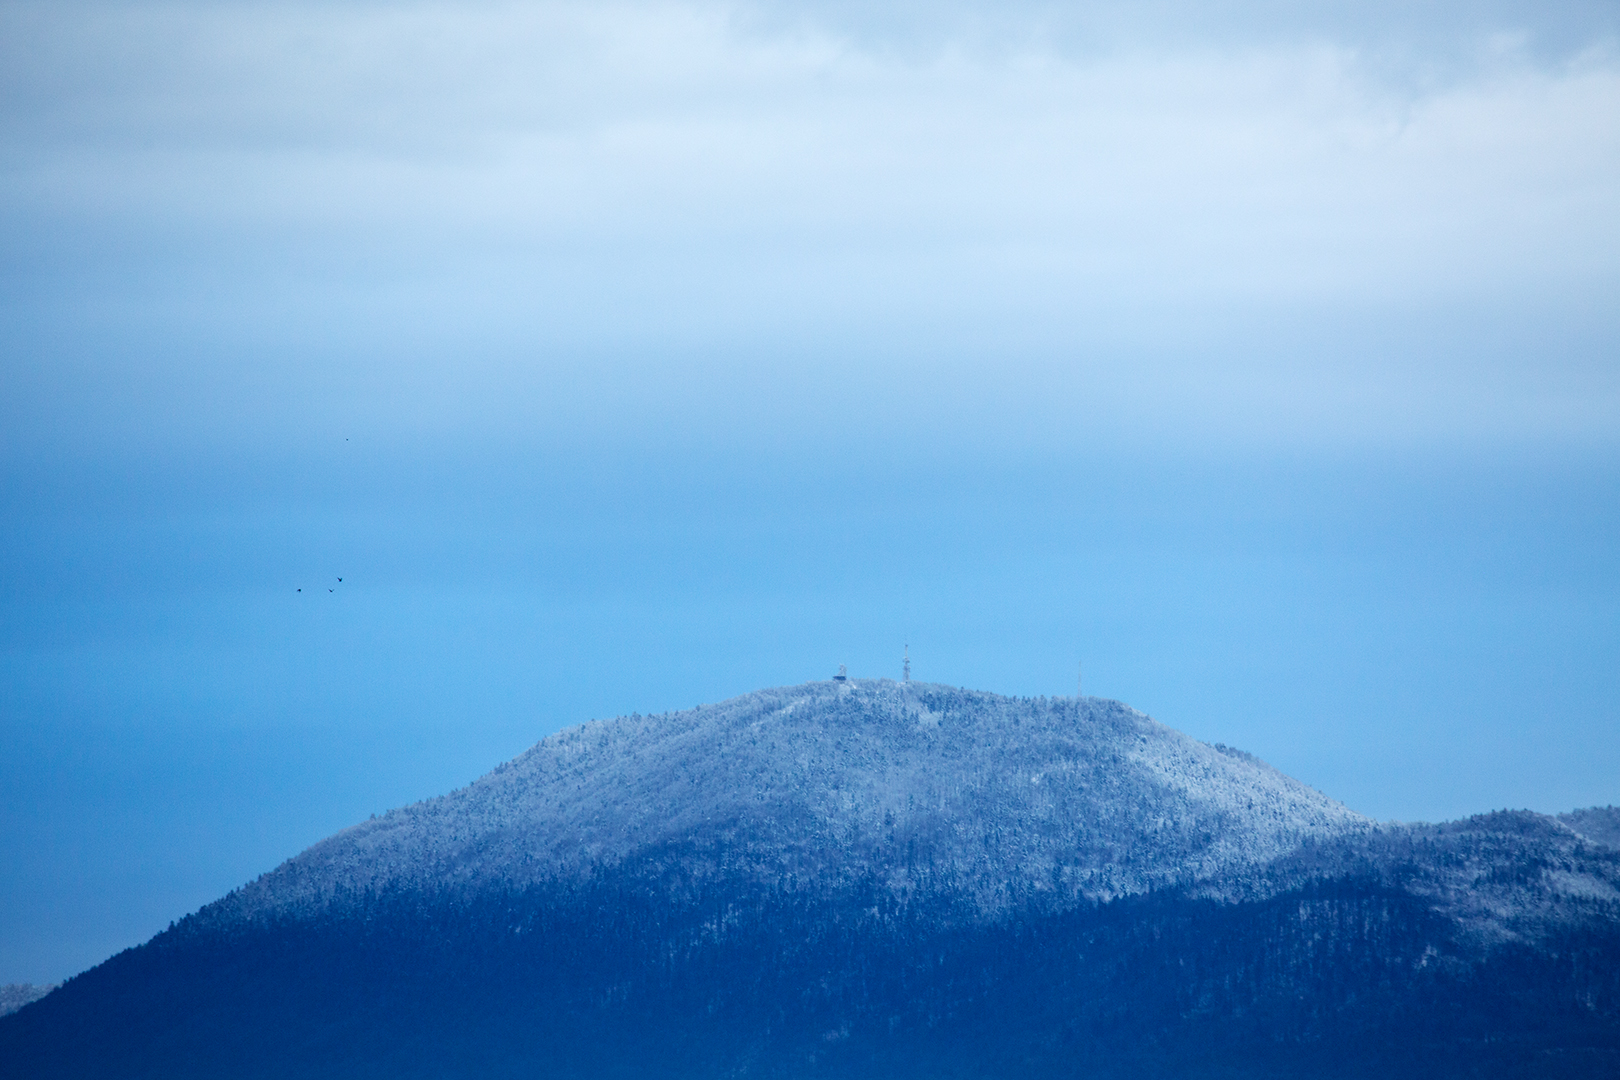
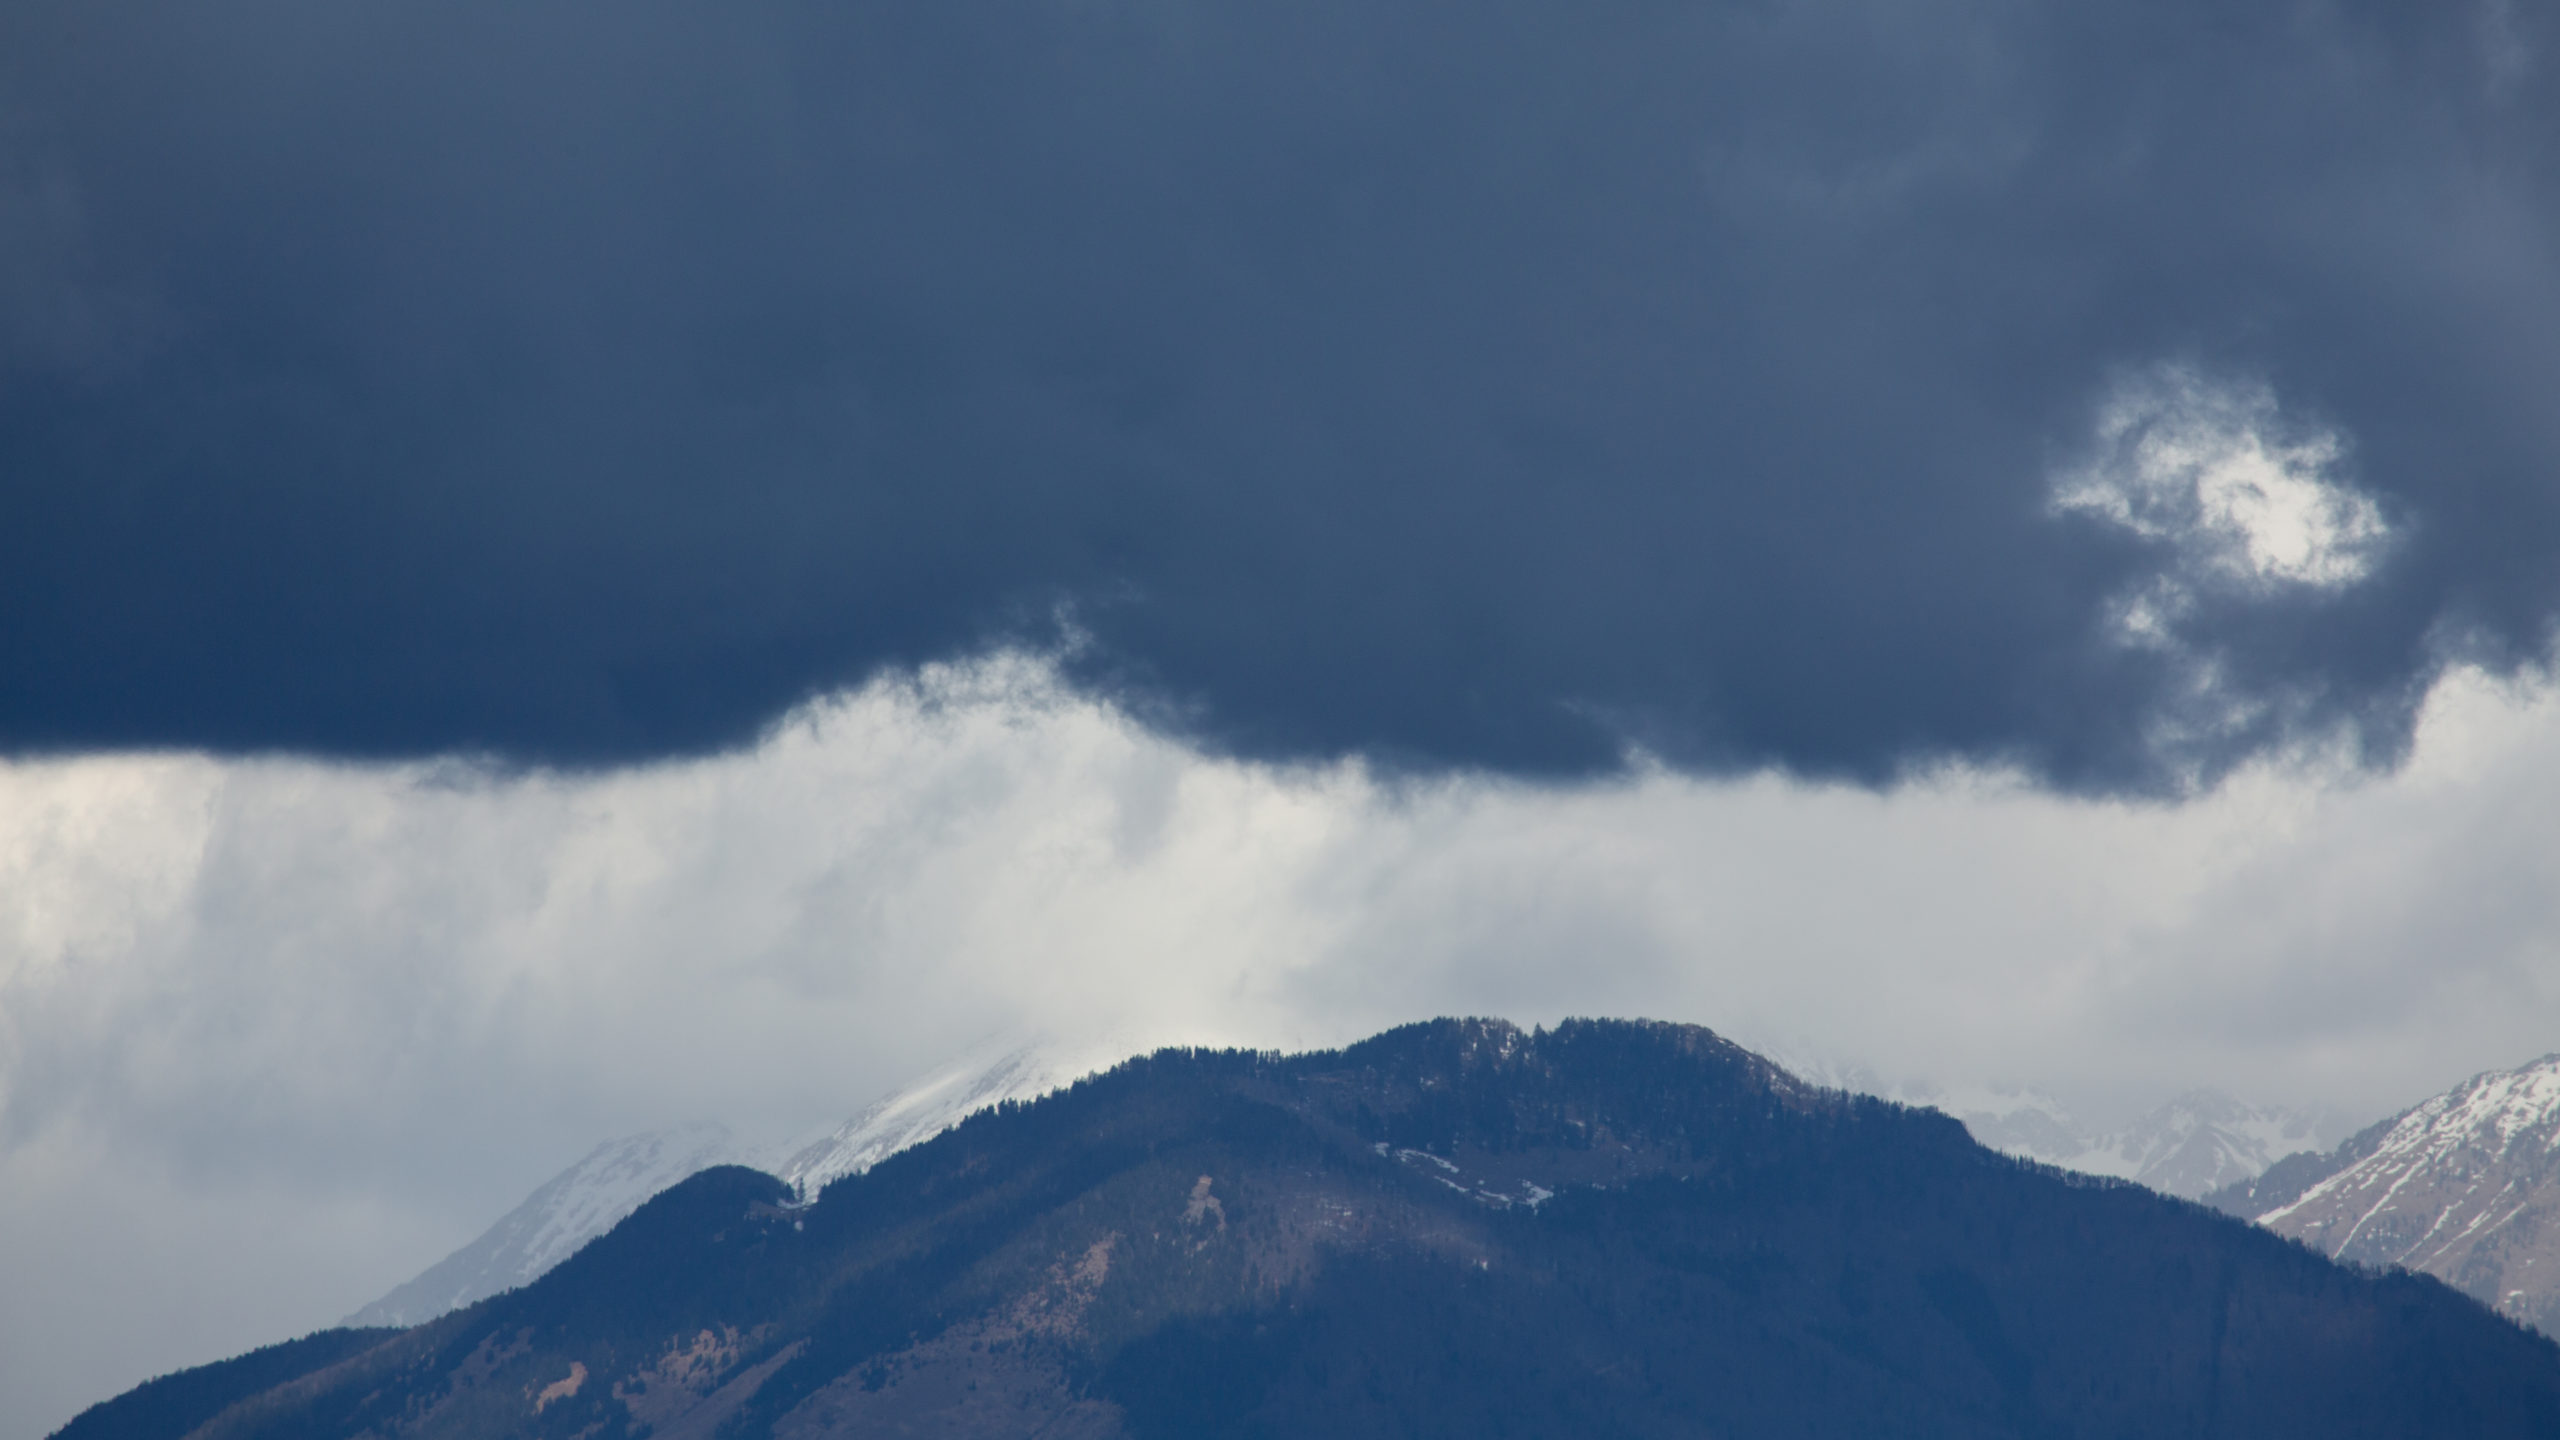
Watch my video tutorial
So sit back, relax and watch my video tutorial on how to take control of how you adjust the contrast in your photos
My book
Learn Photography
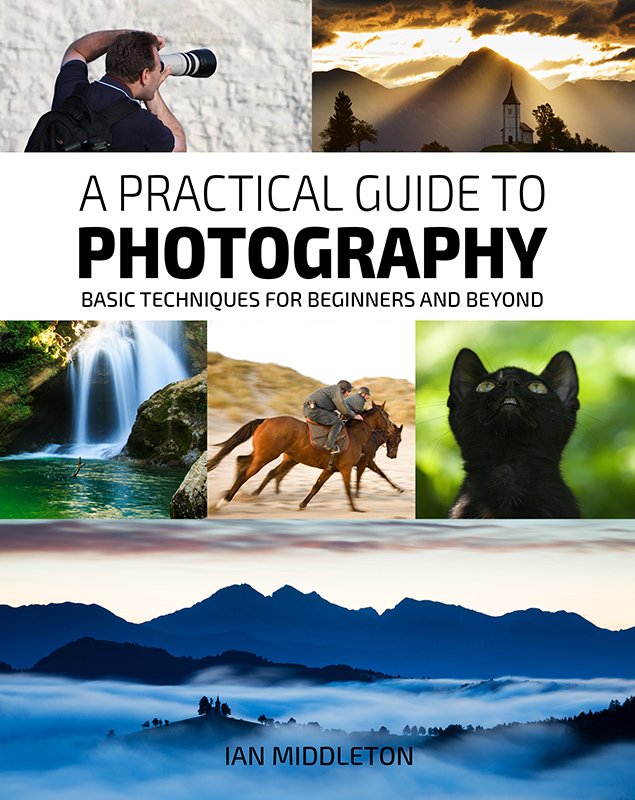
For a more comprehensive look at photography, check out my book, available to buy at Amazon.
Shedding light on all the photography basics in one book.
Want to know how to take better photos? Well, first you need to master the basic techniques. Whether you are a complete beginner or an intermediate looking to improve your photography, this book is packed with photography techniques, tips and advice for beginners and intermediates.
All the camera functions and their effects explained.

