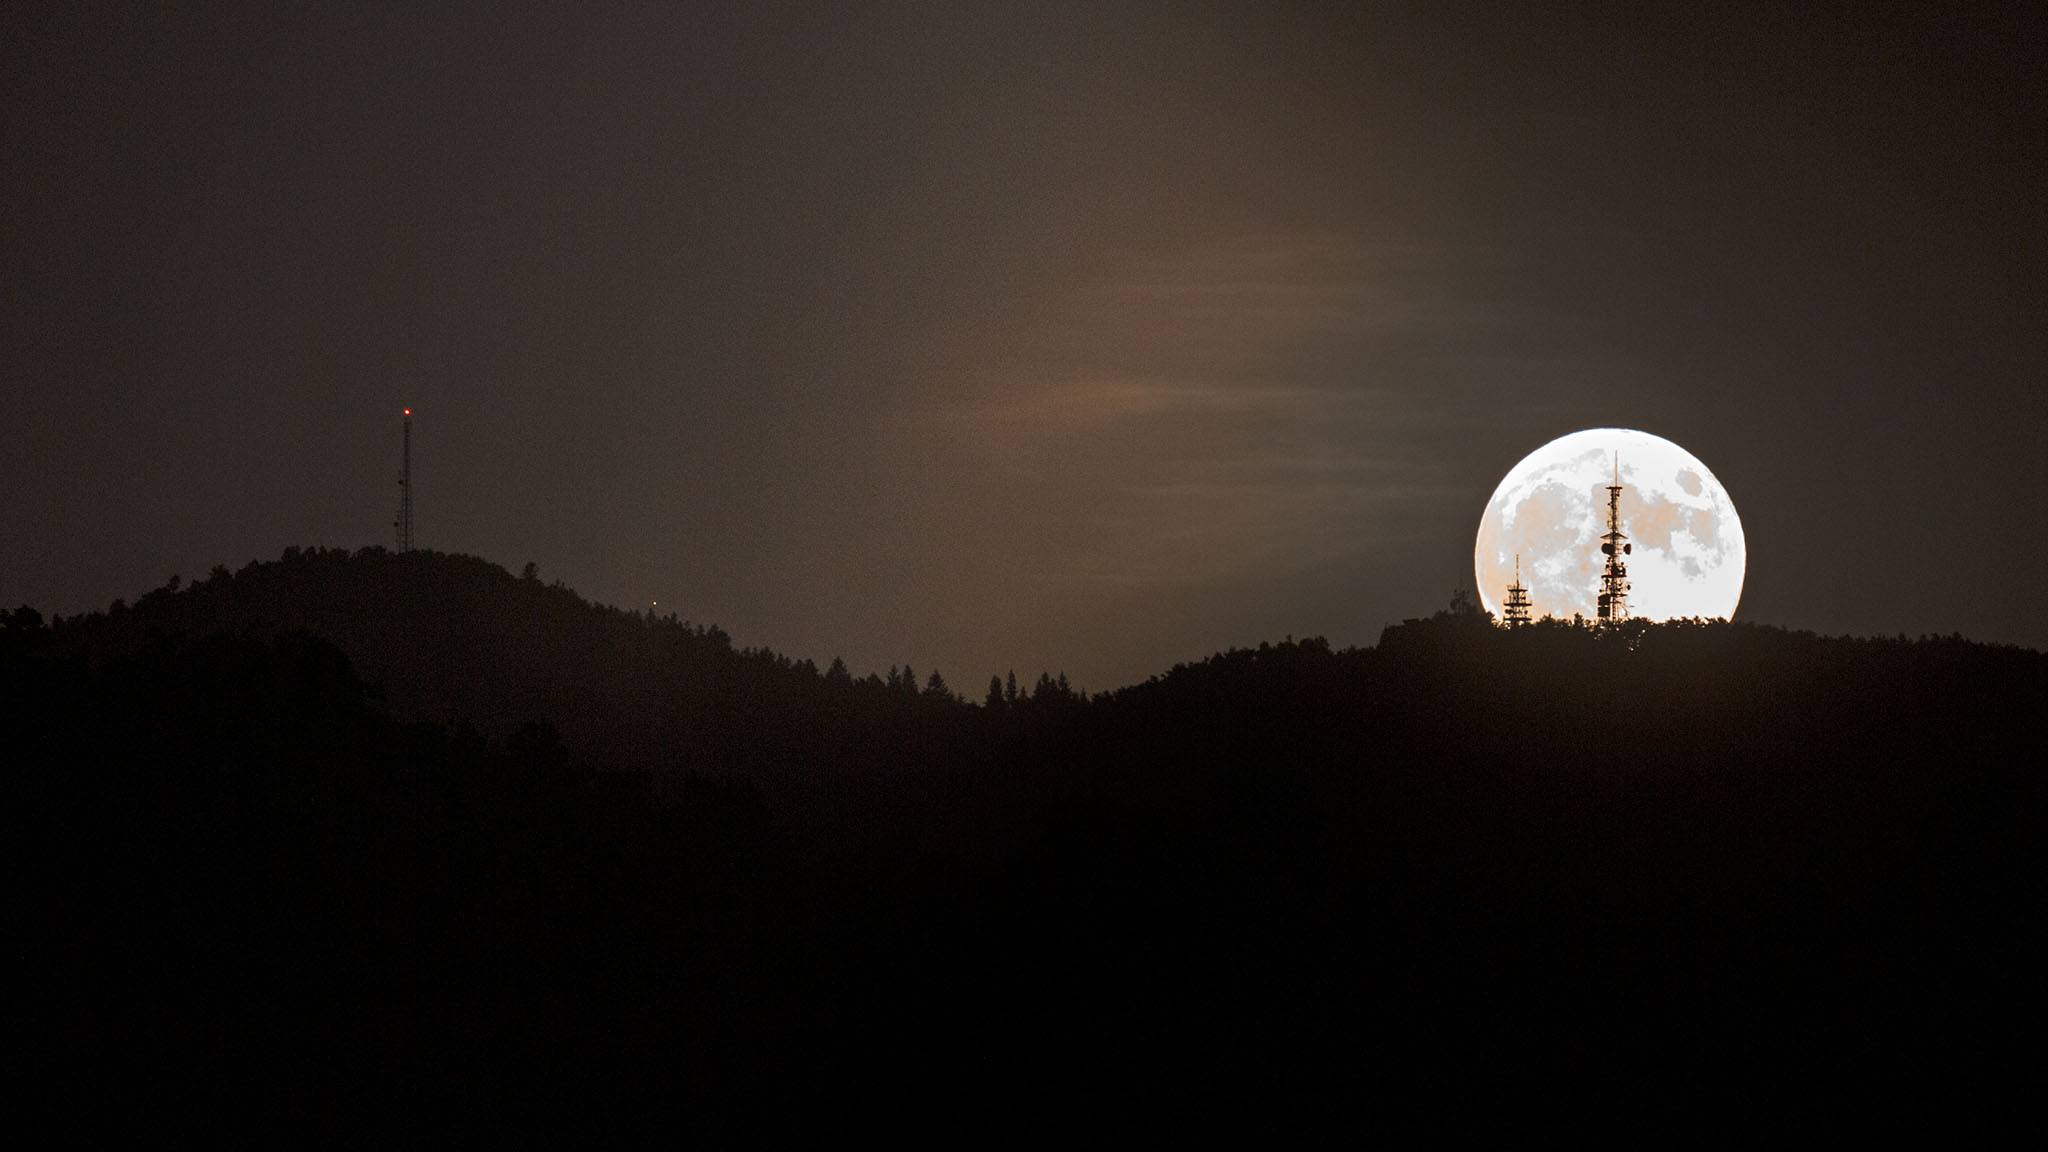
Have you ever wondered how to photograph the moon? Well, photographing the moon is not always as easy as you might think. With my eyes I could see this image. To capture it in camera however, involved making two exposures and then blending them.
Because the moon’s brightness is far more intense that the light it has cast upon the clouds, the extremes are too much for the camera to handle. Our eyes can take in far more details in these extremes than the camera can.
So, it was necessary to take two shots, one exposed for the clouds, and one exposed for the moon: as below.
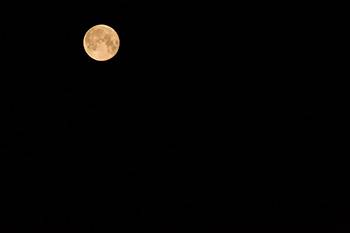
Exposed for the moon Shutter speed: 1/400 sec Aperture: F9 ISO 800

Exposed for the clouds Shutter speed: 0.3 secs Aperture: F5.6 ISO 800
As you can see, the moon in the first image is overexposed but the moonlight falling upon the top of the clouds is perfectly exposed. In the second photo, the moon is perfectly exposed but you can no longer see the clouds. The rest of the image is totally black.
Lens flare: Also notice at the bottom right of the first image that the brightness of the moon has produced lens flare. This is a common problem when shooting directly into intense direct light. You can minimise this by removing any filters you might have on, and also changing the angle of your perspective. Always check for lens flare. If you can’t get rid of it completely, then make sure it’s in an area where you can easily clone it out using image editing software.
Blending the two: Because darkness surrounds the moon, it’s actually very easy to blend these two. All I did was simply paste in the top half of the second photo as a layer. I then used the clone tool to blend them. Finally, I cropped the image.

Don't believe your camera's light metering system!
As you can see in the second image, the moon is a bright ball of light that is surrounded by a sea of darkness. This will fool your camera’s light meter and it will see more of the darkness. Consquently, it will overexpose the moon, like the moon in the first photo. Therefore, you either need to select the spot metering option, use a long telephoto to zoom right in close to the moon to get an accurate reading.
An easier way: The easiest way is to switch to full manual and take some test shots. I took my shot with a 400mm lens. It’s important when capturing the moon like this that you use a shutter speed of at least 1/125. Because the moon is moving, a longer speed will result in motion blur. The exact settings will very much depend on how high it is in the sky. The higher it is, the brighter it is.
Set your camera to full manual and then set a benchmark of:
- Shutter speed: 1/125
- Aperture F5.6
- ISO 400
If overexposed, increase either the shutter speed, or reduce the aperture.
If underexposed, increase the ISO
Use a zoom lens and include some landscape and foreground interest to give a sense of scale to your moon shots

This is obviously best done at either dusk or dawn when the moon is either rising or setting. The brightness of the moon here is more likely to be in balance with the brightness of the landscape, you might not need to use a double exposure. Judge for yourself when taking your photos.
Get creative
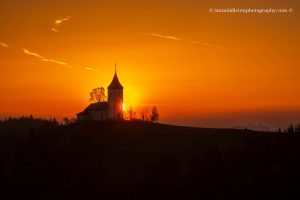
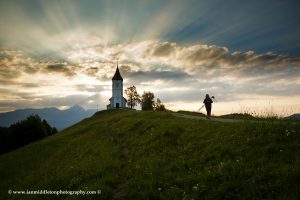
However, you can use the moon’s extreme brightness to get a little creative. I shot this image on June 22nd, the night before the 2013 Supermoon reached totality. By finding a perspective where the moon passed over the church spire, using a 30 second exposure, it has created this beautiful effect thanks especially to the little bit of cloud.
If you want to know moon rise and set times in your area get a great piece of software called TPE (the photographers ephemeris), if you don’t already have it. Read more about this and other great apps for photography here:

My book
Learn Photography
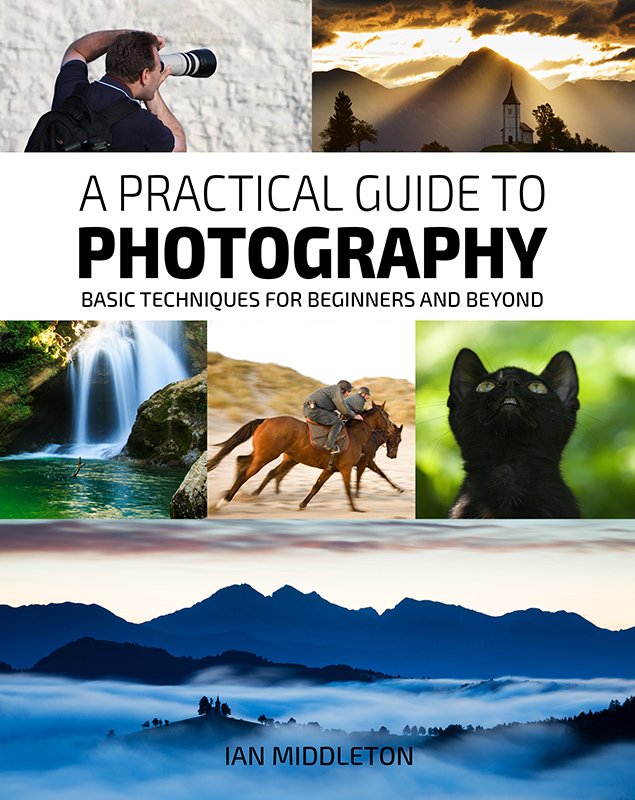
For a more comprehensive look at photography, check out my book, available to buy at Amazon.
Shedding light on all the photography basics in one book.
Want to know how to take better photos? Well, first you need to master the basic techniques. Whether you are a complete beginner or an intermediate looking to improve your photography, this book is packed with photography techniques, tips and advice for beginners and intermediates.
All the camera functions and their effects explained.

