Recover lost detail in overexposed areas
Have you ever wondered why your buildings in night photography are too bright and lacking in detail? Well it’s because the buildings are overexposed and the detail in the bright parts (the highlights) is blown out. If you want to know how to fix blown out highlights in photoshop, read on…………
Dynamic Range
You may have heard the word “dynamic range” being thrown about in photography. Well essentially it’s like this:
The tonal range (or range of luminosity) of a photo is much lower than our eyes. We can see more detail in a wider tonal range than the camera.
So in a high contrast scene, where the difference between the darkest point and brightest point is very big, we will be able to see the detail in the darkest part and the brightest part, but the camera will not.
The histogram (seen below), a graph representing tonal range and luminosity, illustrates this. You can find it in your camera settings, and while editing.
It shows us the tonal range within the image in graphical form and is a great indicator of whether or not we have exposed our image correctly.

Shadow Midtones Highlights
- 0 far left indicates how much shadow detail is present
- 255 far right indicates how much highlight detail is present
- Midway point indicates how much midtone details is present
You can also think of these as colours:
- Shadows = Black or dark colours
- Midtones = Grey or muted colours
- Highlights = White or bright colours
Anything beyond 255 is completely white with no detail present. Anything below 0 is completely black with no detail present.
The height of each line represents the amount of pixels in your image that contain that tone. So for example, the blue peak show there are lot of pixels around the midtone range.
Clipping:
Notice that on the far right there is a spike. This means that the image to which this histogram belongs has some areas which are completely white with no details. This is known as clipping.
Blown detail on buildings
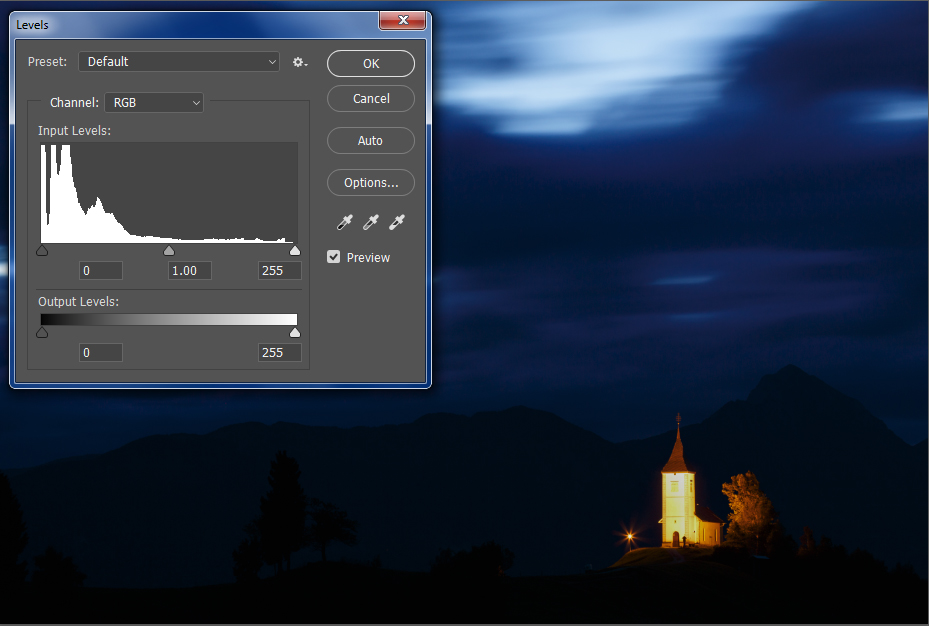
As you can see by the photos below and histograms, there are large spikes on the left. This indicates that areas of the photo are totally black. Well, given that this is a low key image with lots of shadows and dark parts, this is normal and not a problem. However, on the right is a small spike, which most likely represents the blown out detail on the church.
But fear not, because if you have captured the image in RAW and have processed it to a 16 bit TIFF, then you can work to recover the lost detail, just as long as you haven’t overexposed it too much. While you can push the exposure to the right, there is only so far you can go before it’s no long possible to recover the detail.
The detail is still actually there, it’s just lost among the brightness.
In the photo below you see the church is too bright, and the tiny spike on the far right indicates this:

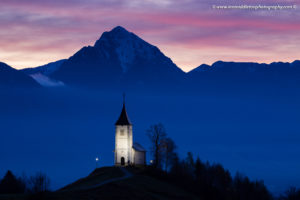
The photo other here I have recovered the lost detail on the church and you can see that on the histogram there is small gap where the spike has moved to the left, representing the recovered detail.

Watch my video
So sit back and watch my short video showing two great ways to recover the detail in areas like this. It’s not long, so you won’t need a cup of tea. Although you can get one if you want.
My book
Learn Photography
For a more comprehensive look at photography, check out my book, available to buy at Amazon.
Shedding light on all the photography basics in one book.
Want to know how to take better photos? Well, first you need to master the basic techniques. Whether you are a complete beginner or an intermediate looking to improve your photography, this book is packed with photography techniques, tips and advice for beginners and intermediates.
All the camera functions and their effects explained.


