Shutter Speed (AKA - Exposure Time)
Naturally, as our eyes are seeing constantly moving images, our retina is permanently exposed to the light.
However, this is not the case with photography. In order to capture an image you must expose the sensor or film to the light for a period of time, known as exposure time.
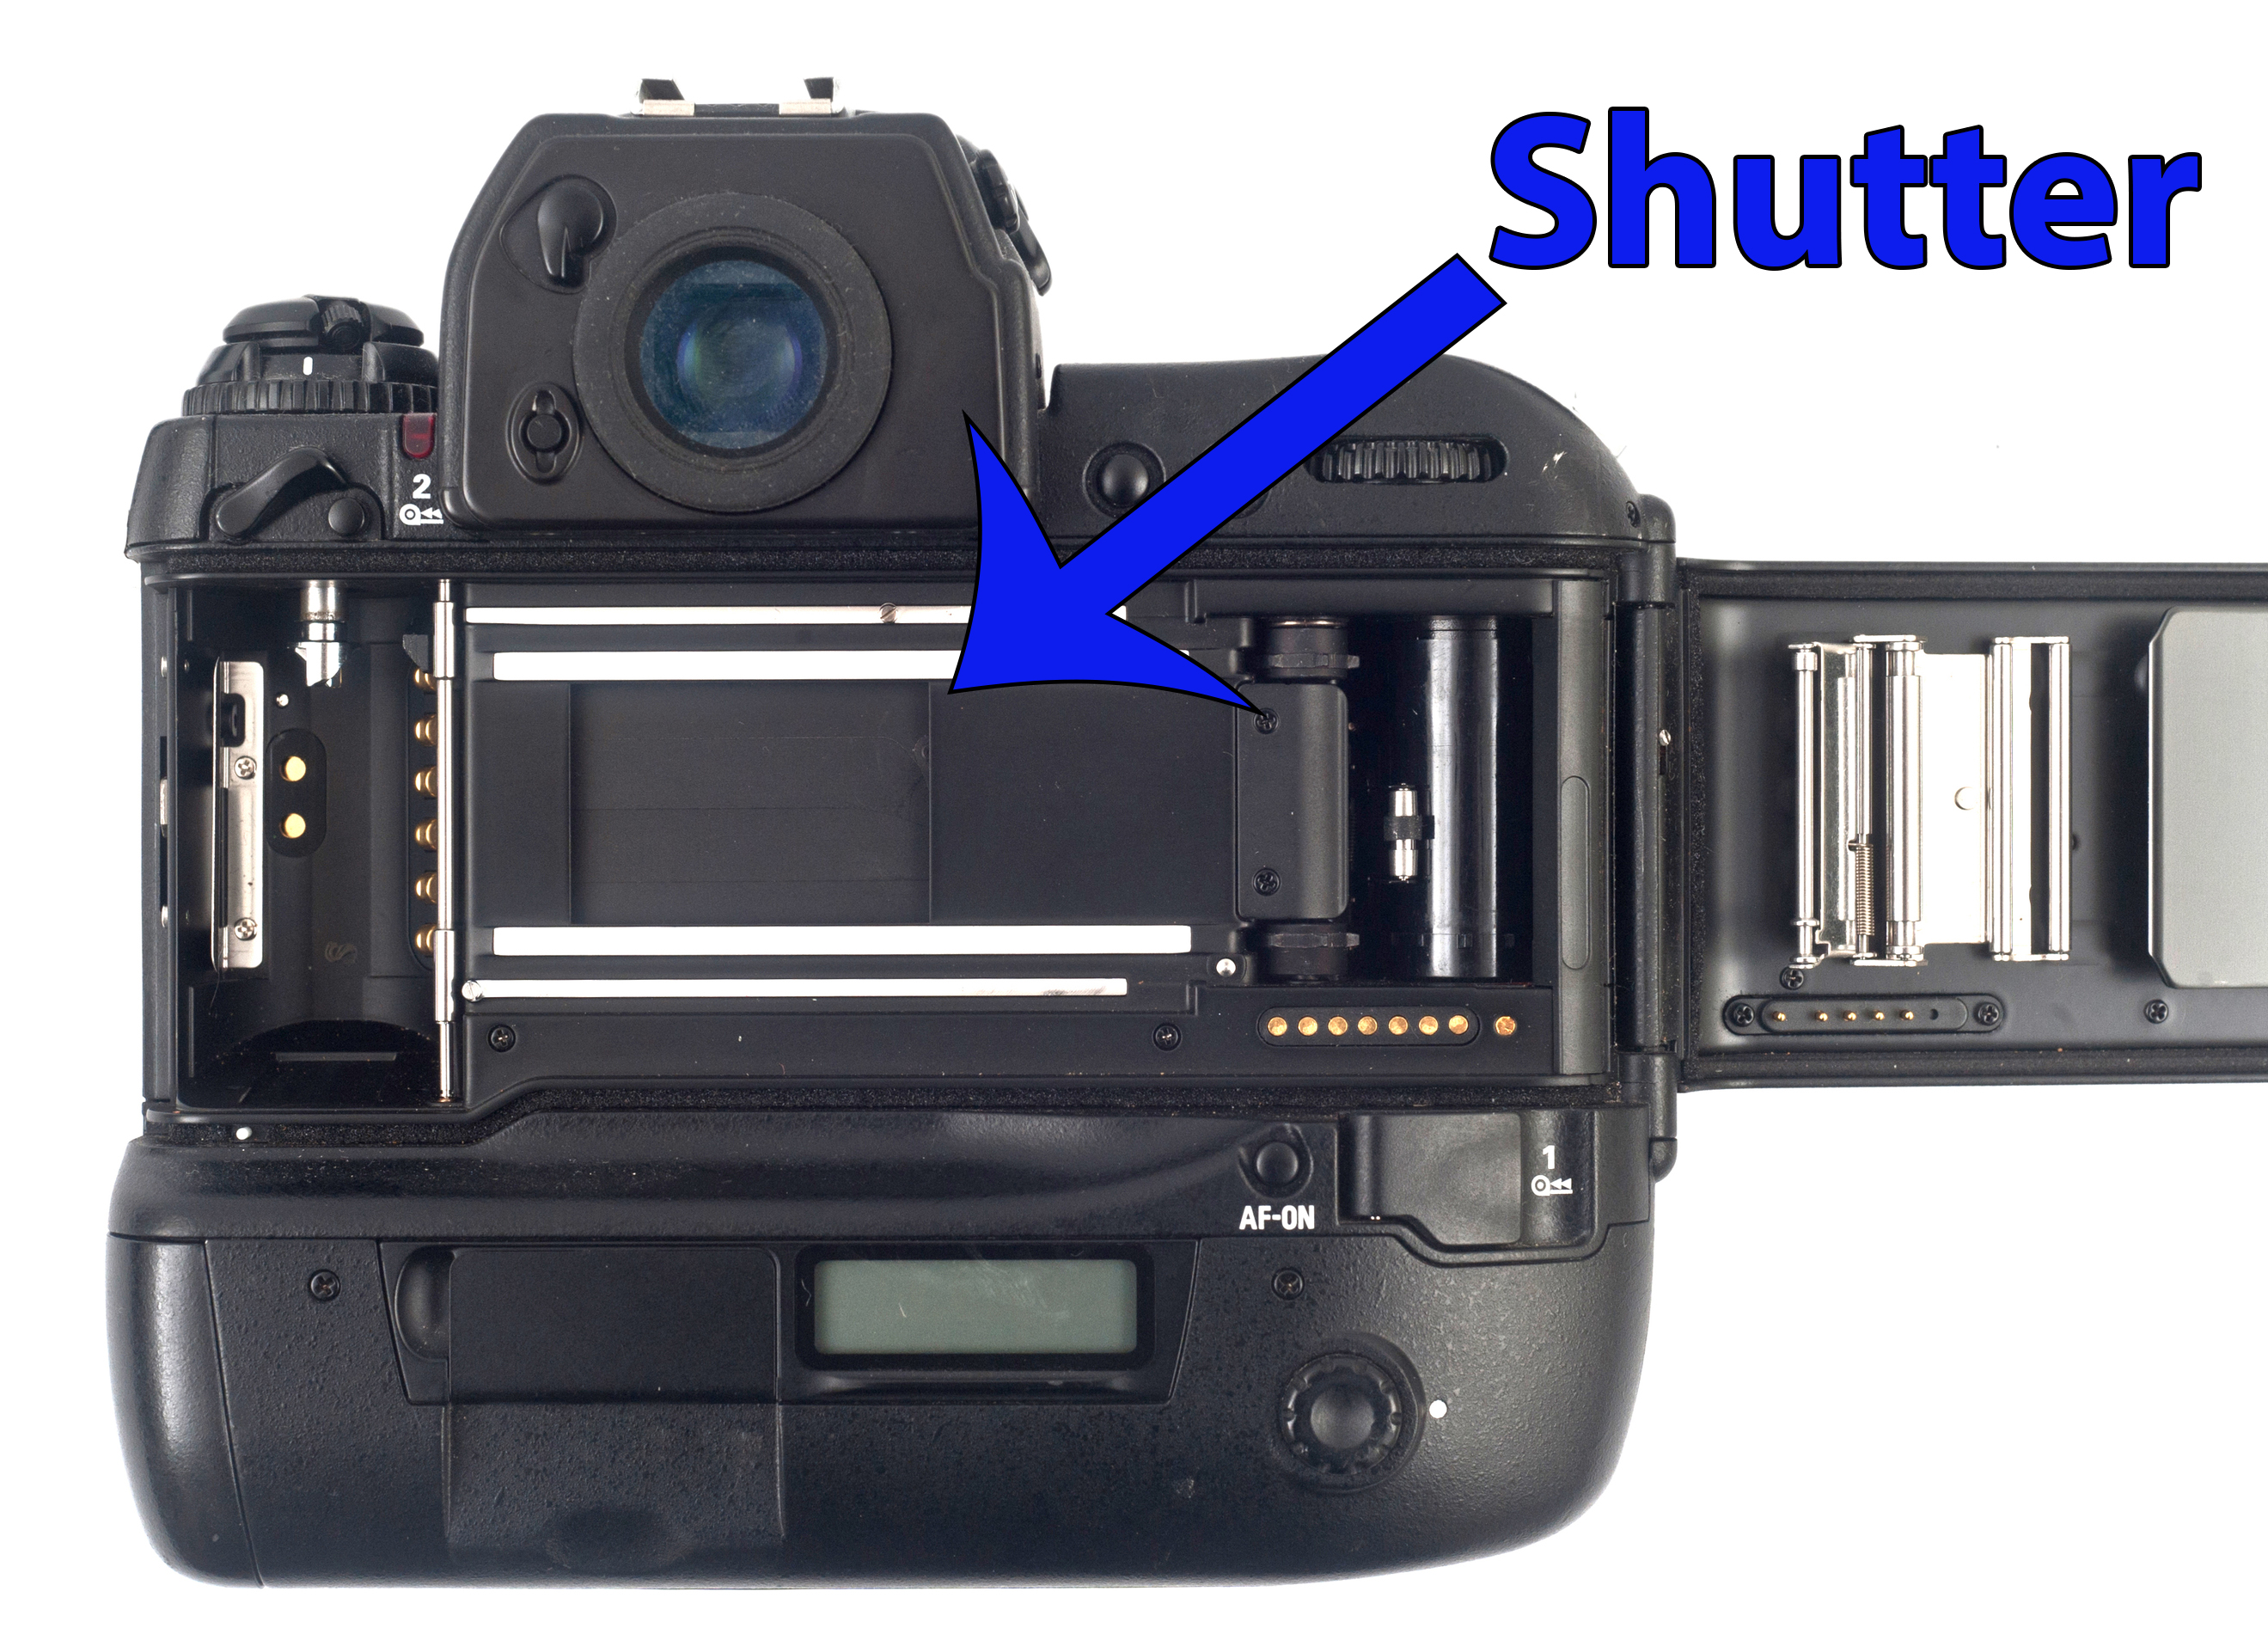
Inside your camera there is a shutter that acts as a kind of curtain. When the shutter button is pressed the curtain is pulled back and light is allowed to fall upon the sensor/film. The shutter is then closed and the image is frozen in place.
In essence, for the duration that the sensor/film is exposed the image is drawn upon it. With film the roll is moved on to another empty frame, and with digital the image is then transferred to the memory card and saved.
Shutter speed (exposure time) is measured in the time that the shutter is open, usually in a fraction of a second such as:
1/125 second (125th of a second).
Shutter speed adjustment is measured in stops:
- Full increments (double or half the previous speed)
- Half (1/2 a stop)
- Third (1/3 of a stop)
So for a shutter of 1/125, Shutter
- One stop slower is 1/60
- One stop faster is 1/250
The following table shows this.

Shutter speeds are a classic example of how the light draws the picture. Therefore, how long you expose for can make a huge difference to how your image looks. Any moving objects will be drawn according to the length of exposure.
Think about when you open and close your eyes. The longer your eyes are open, the more movement you see. If you open and close them quickly, you see less movement and retain more of a snapshot of the scene you looked at.
Imagine if you could open and close your eyes at 1/1000 second while watching someone jumping in the air in front of you. You would freeze them in mid air in your mind. Open your eyes for 1 second, and you would see the movement. If you keep your eyes fixed on one place, rather than track the jumper, then the action would be retained in your mind as a blur.
Try it with a camera fixed on a tripod and experiment with different shutter speeds.
Thus when there is movement in the scene:
A slow shutter speed (long exposure) will record this movement into what is called “motion blur”, but onto one image.
A fast shutter speed (short exposure) will freeze the movement.
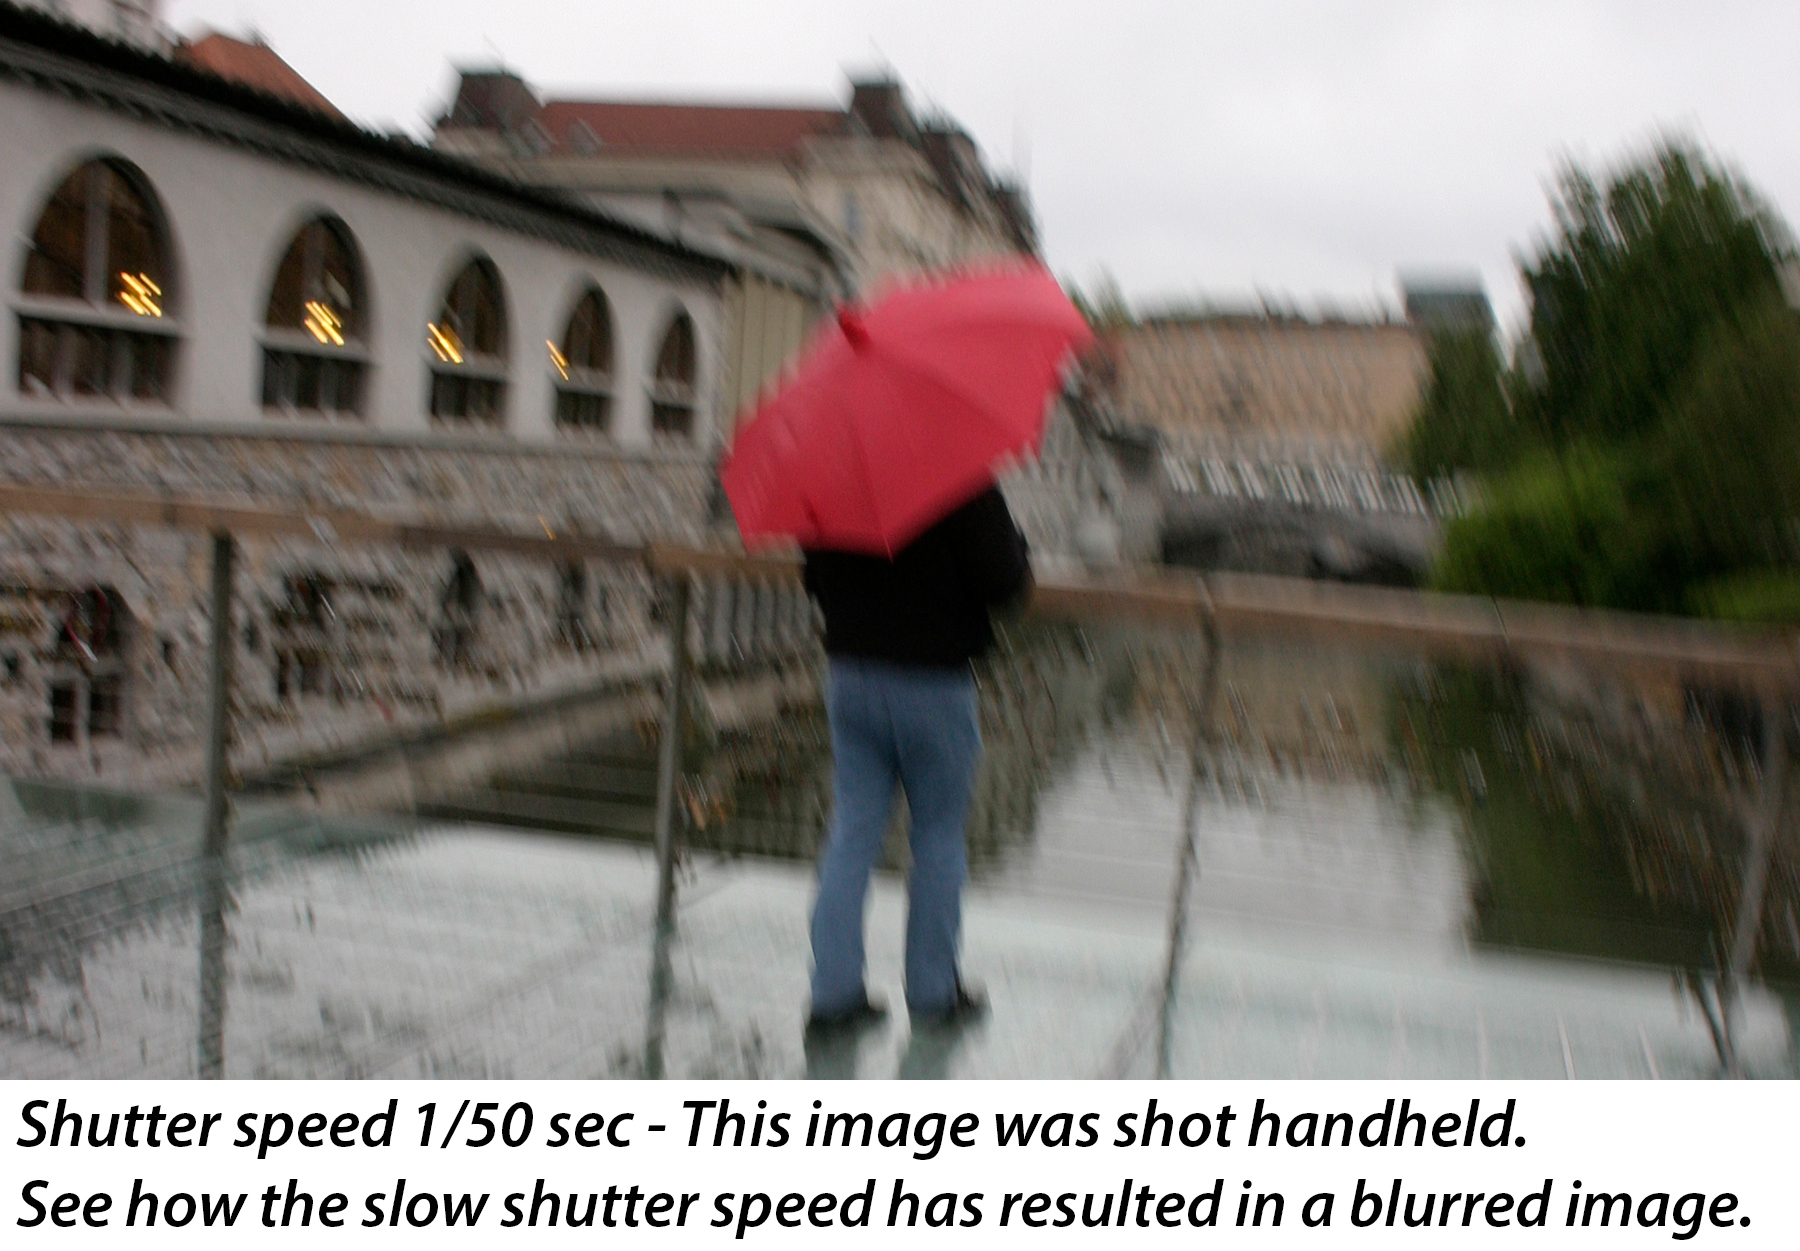
Camera shake: It’s important to note that slow shutter speeds cannot be done handheld because your photo will be blurred due to vibration from camera shake. No matter how steady you think you are holding your camera, it’s probably not enough.
Minimum handheld shutter speed = 1/125 sec
This is what I consider to be the best speed to use handheld. But a lot also depends on your equipment, and the conditions you are working in.
- If it’s cold, you will shiver.
- If your equipment is heavy (big long lens), you will struggle to hold it still.
- If you are working in an awkward place, or your having to stand tiptoe or crouch down for your shot, it will be harder to hold the camera steady.
Long lenses
For zoom or telephoto lenses, the rule of thumb is to shoot at a shutter speed equal to or higher than the focal length.
IE: 500mm = 1/500 sec
But of course it also depends on the type of lens. A cheap lightweight zoom will be easier to hold still than an expensive top of the range lens, which is larger and heavier.


The image on the left was shot handheld at 1/400 at 380mm using the lens in the previous photo. It’s a heavy lens, and so is the camera, so I took no chances.
Image stabilisation / Vibration Reduction
Many of today’s lenses have the above feature which allows you to shoot handheld at slightly lower shutter speeds. However, it usually only allows about two stops below normal, and again comes with a compromise: Softens the image. This might be acceptable for some portraits, but definitely not for landscapes.
Tripod or increased shutter speed?

Shutter speeds below around 1/125 sec (depending on how steady your hand is or how heavy your camera is) typically need a tripod, or some other form of support to keep the camera from moving. Even the slightest movement or vibration will cause unwanted blurring in your image and a loss of sharpness.
You can also use a beanbag when shooting over walls, from car windows or on the floor. When shooting in low light or in conditions that require a long exposure, we want to keep the image sharp and free from blurring due to vibration. So the only way to do this is to increase the shutter speed, or use a tripod.
However, a tripod can only be used if your scene is still. If people are in your scene then they will be blurred, even if they are standing still. Like with holding a camera still, people cannot stand perfectly still no matter how hard they try.
Also watch out for leaves or grass blowing in the wind, or boats floating on water (unless you want this effect). Study your scene to see if using a tripod will work, or whether you have to increase the shutter speed.
Important note: If you are using a fast shutter speed, a tripod or other support, make sure you turn off the image stabilisation function. If you don’t then your image will be blurred because the camera assumes there is camera shake when it’s on and tried to compensate regardless. If there is no camera shake, then it will create it.
Unwanted Motion Blur
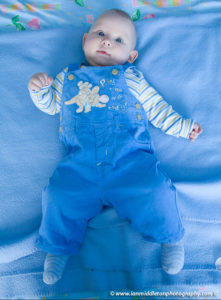
Although setting the right shutter speed avoids camera shake blur, there is also the problem of motion blur when it’s not wanted. When people, especially children and babies, are moving then you need to consider how fast they are moving and increase the shutter speed accordingly.
1/60 sec (moving foot and hand are blurred)
Although this was shot with the image stabiliser switched on to avoid camera shake, moving subjects can also cause blur when the shutter speed is too slow.
You either need to increase the shutter speed to at least 1/200 sec in a situation like this, or keep the subject still (not so easy with babies!)
Avoiding Unwanted Motion Blur
In order to avoid this problem, you either need to increase your shutter speed to freeze the movement, or like I did here, be patient and wait for the movement to stop, then be ready to quickly take your shot. Sometimes the situation won’t allow for a faster shutter speed.
Unavoidable Motion Blur
Sometimes it’s simply not possible to avoid. On this photo taken during the low light of dawn a long exposure was needed. Even though it was morning and the lake was still, there was still some slight drifting of the boats. I exposed for 20 seconds praying for as little movement as possible. Only the boats on the far left and right moved enough to create some blur. But overall I think the effect worked quite well.
My book
Learn Photography
For a more comprehensive look at photography, check out my book, available to buy at Amazon.
Shedding light on all the photography basics in one book.
Want to know how to take better photos? Well, first you need to master the basic techniques. Whether you are a complete beginner or an intermediate looking to improve your photography, this book is packed with photography techniques, tips and advice for beginners and intermediates.
All the camera functions and their effects explained.


