The photo editing process
The RAW photo editing process can seem a little daunting, but it’s not as complicated as it may appear. It also doesn’t have to take that long, once you get to grips with the tools and techniques. I rarely spend more than 5-10 minutes processing a photo in Adobe Camera RAW, unless it requires something more complicated like exposure blending.
A RAW file in digital photography is somewhat of an enigma for many. What is a RAW file? What do I do with it? and more importantly, how do I process or edit it?
In the video that follows I walk you through how to process a RAW image from start to finish, and show you all the most useful photo editing tools available . It’s quite long, so you might want to get yourself a nice cup of tea before you start.
But first, a little bit of insight into the mysterious RAW file
What is RAW format in your digital camera?
RAW: If your camera has it, then you should always shoot in this format. When you shoot in RAW then every single byte of data the sensor captures is saved, and therefore the file contains a wider dynamic range with much more detail, tonal range, contrast and colour. Saving in RAW not only allows you complete control over how you process the image (rather than letting the camera do it), but it gives you more flexibility when it comes to processing and editing without losing quality.
To process a RAW, you need a RAW file photo editing program (Your camera’s software should include one). The best software though, is Adobe Camera RAW (ACR), which can used as a plugin to either Adobe Photoshop or Lightroom.
Adobe Camera RAW will allow you to adjust white balance, exposure and retrieve lost detail in overexposed areas (within reason). This can be essential when applying effects such as blending different exposures, or compensating for the extremes of light and contrast that the camera cannot otherwise handle. RAW is also a great format when learning, because it allows you correct mistakes you make in exposure. If an image is over or underexposed, you can adjust it up to 2 stops either way.
RAW to JPEG
If we compare film and digital photography, you can think of RAW as a digital negative, and JPEG as the final print. In the old days of film we took our negatives to the camera shop for processing and they gave us back a set of prints.
How those prints looked, would often depend on how good the processing lab you used was. Go to the cheap one at the pharmacy and you would get a spotty teenager who would feed your negatives into a machine, press a few buttons and then give you what came out the other end! (When you shoot and save in jpeg your camera is the spotty teenager)
But go to a professional lab and you would get a professional who would work hard to get the best prints possible from your negatives. It’s not a simple case of making a print from the negative. And this is also true with digital photography.
Essentially, shooting in jpeg only is equivalent to accepting the print the processing lab gives you and then throwing away the negative.
Photo editing is not exclusive to digital, even the professional film photographers edited their photos in the darkroom. Many tools in Photoshop emulate photo editing techniques used in the darkroom. That’s why Photoshop is often referred to as “the digital darkroom)
Camera RAW
When you shoot in JPEG, the camera’s digital sensor captures the RAW data, it then transfers this RAW data to the camera’s internal microprocessor (mini computer if you prefer), which then processes the photo to produce the JPEG file. How this JPEG looks very much depends on the picture style you have set your camera to. If you have set it to landscape, the camera will then boost contrast and colour and sharpen the image. If you have set it to portrait, it will try to produce a softer image with more natural looking skin tones. Either way, the camera manipulates the image and makes the choice for you.
In general, camera manufacturers are catering to the average user and assume that if you are shooting in JPEG, you are not a professional and therefore want a nice colourful image with lots of brightness and contrast. And what’s more important is that to give you such a small file size, the camera then discards all the data that it didn’t use and not only saves enough to give the photo it created, but also compresses this data. Therefore, each time you edit or re-save a JPEG you are losing quality and slowly destroying the image. When you shoot in RAW, you get to choose how your final image looks by using the RAW editor and great tools such as levels & curves, the graduation filter etc
Opening the RAW file in Adobe Camera RAW (ACR)
When you first open the RAW file in ACR or whatever program you decide to use, don’t be put off. RAW files are usually flat and lacking contrast, because they are not the final image but rather the raw ingredients. A digital camera’s sensor is designed to capture as much information about the scene as possible, and then the camera’s software creates the image.
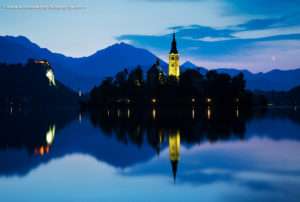
When you process a RAW yourself, this is just the starting point. The RAW image can often look like this at first:

The final image:

Video Tutorial
So if you have that cup of tea ready, sit back and relax and watch for yourself how I edited this photo.
My book
Learn Photography
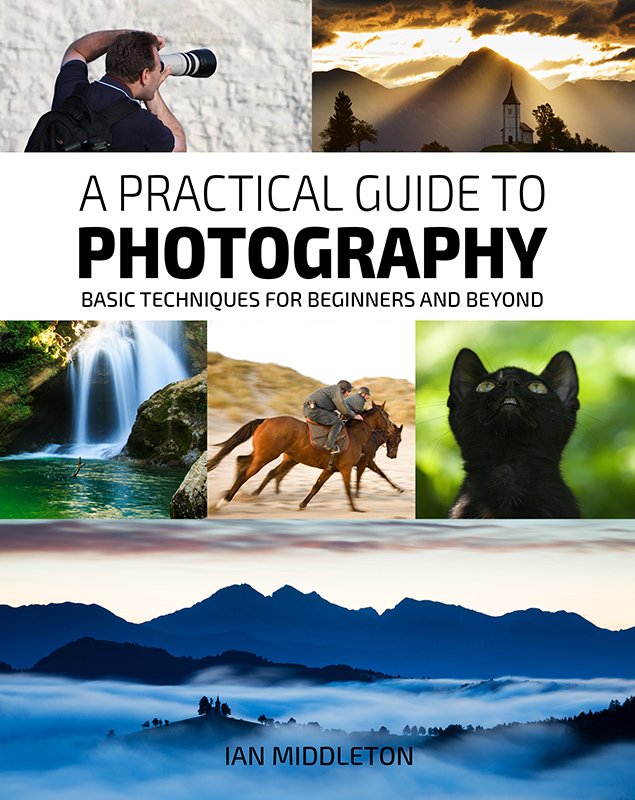
For a more comprehensive look at photography, check out my book, available to buy at Amazon.
Shedding light on all the photography basics in one book.
Want to know how to take better photos? Well, first you need to master the basic techniques. Whether you are a complete beginner or an intermediate looking to improve your photography, this book is packed with photography techniques, tips and advice for beginners and intermediates.
All the camera functions and their effects explained.

