Night photography is not as difficult as you might think. I this tutorial I’m going to show you how to photograph stars and star trails. Firstly, and most obviously, you will need a sturdy tripod and a remote shutter release cable (or wireless remote shutter release).
Take test shots: Below are a few tips, but the best thing to do is to take a series of test shots to determine the settings that will best suit the situation you are shooting in.
For best results head out of the cities and big towns and find a place where there is little or no light pollution. And also shoot on a new moon night, or when the moon has not yet risen. You can get good results on moonlit nights too, but ensure it’s not a full moon, or shoot when the moon only just beginning to rise. You can get blues in your sky on moonlit nights, so it’s not always unwanted.
ISO – Set your ISO to around 1000 – 1600, depending on how bright the sky is (when there is a moon the sky will be a little brighter). If your camera’s ISO goes higher by all means use it, but remember the higher the ISO, the higher the noise. This is especially true in darker images. So try to attain the lowest you can to minimise the risk of noise.
Aperture – I usually go for an aperture of around F5.6 – F7.1.
Shutter speed – Try to attain a shutter speed between 10 – 30 secs.
Focusing – Focus your camera to infinity, or just below if you have foreground interest.
Lens focal length – Use the widest angle possible, as you will be shooting with large apertures and will therefore have a very narrow depth of field. If your focus is on the sky only, this might not be such a problem, but if you are using foreground interest, like the photo above, then it’s paramount. Otherwise your foreground or sky will be out of focus.
White balance – Set your white balance to around 3500k to reduce the redness from any ambient, artificial light that may be around. This will also give you a nice blue sky if the moon is out.
Avoiding star trails – If you leave your shutter open too long then you will end up with star trails, because the earth is rotating. To avoid this you can use the rule of thumb: Divide 1000 by your focal length:

For example: 1000 / 24mm = 41 seconds.
This means the slowest shutter speed (longest exposure time) I can use is 41 seconds at 24mm. After this I will start to get visible star trails in my image.
Shoot in RAW – Always shoot in RAW, because this will give you much needed flexibility during processing. Your final image will most likely need a little work to bring out the stars.
Processing tips – You can use the shadows and highlights tool to help brighten the stars and darken the sky. And if you are using Adobe Camera RAW (ACR) then use the Clarity slider to really make the stars pop out in the sky.
Best Exposure technique – Always try to expose to the right and obtain the brightest image you can, without of course burning out the highlights. This will minimise noise within your image. You can always darken your image again during post processing by either pulling back on the exposure, or adjusting the levels or curves. Or use the highlight recovery tools. It’s easier to darken the image, and this will ensure smoother tonal transitions and smoother blacks. If you try to brighten any dark image you will always increase the noise, especially in the black parts of your image.
How to Photograph Star Trails with a DSLR
To photograph stars and multiple meteor trails, once you have determined the best settings, using a remote shutter release, lock on continuous shooting and take multiple frames for as long as you want (1/2 – 3 hours) Then you can stack then using http://www.startrails.de/html/
software.html
It’s free to download.
Important note: You must use a shutter release that will allow you to lock the shutter button for continuous shooting. There must be no gaps between exposures, or else you will end up with gaps in your star trails. How long you shoot for depends on how long you want your star trails to be. Anywhere between 1/2 hour to 3 hours is good.


Why not shoot using a long exposure? – I hear you ask. Well you can of course, especially if shooting with film. But with a DSLR you get problems with noise during long exposures because the sensor gets hot. Also, when including foreground interest like above, the foreground will be overexposed. So the best method is the stacking method.
Choosing your foreground interest – Churches are always great for star trails, but make sure the church isn’t directly lit. This will obscure your view of the stars. For best results, use a church that gets some ambient light from a nearby village. The images here were also near a road, so passing cars were lighting the church during my exposures.Other locations can be small villages, or mountainous landscapes. Mountains are best shot when there is some moonlight.
My book
Learn Photography
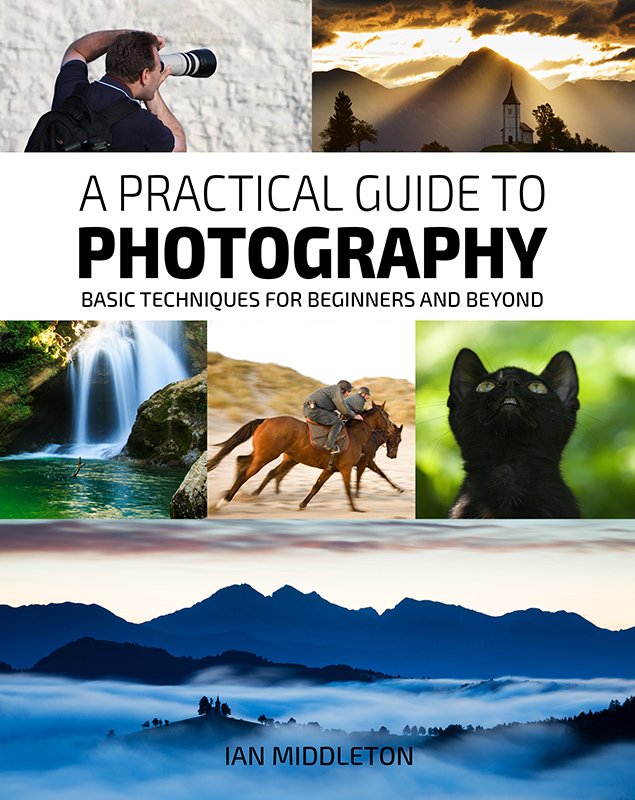
For a more comprehensive look at photography, check out my book, available to buy at Amazon.
Shedding light on all the photography basics in one book.
Want to know how to take better photos? Well, first you need to master the basic techniques. Whether you are a complete beginner or an intermediate looking to improve your photography, this book is packed with photography techniques, tips and advice for beginners and intermediates.
All the camera functions and their effects explained.


