A super simple way to do a timelapse video
The best way to do a timelapse video is by taking sequential photos and then compiling them all into one video. One big advantage to this method is that you can bulk edit the photos beforehand to ensure you bring out the maximum detail, colour and contrast in your video.
In this video tutorial, I show you an easy way to do a timelapse video using Adobe Photoshop. First I talk you through how to capture the sequence of photos, then how to bulk process the RAW files and save them all ready to make the timelapse.
Next, I resize all the photos using the actions tools to make everything easier and faster when making the timelapse.
Then I demonstrate how to use the features in Photoshop to easily compile all these images into one timelapse video.
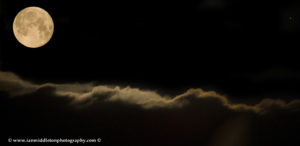
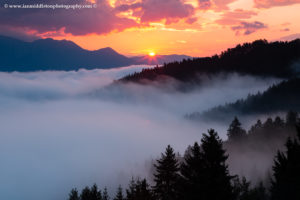
For this particular timelapse I shot 630 photos on a Canon EF 100-400 mm f/4.5-5.6 L IS II USM telephoto lens (which is a superb lens) set on a tripod with a 6 stop ND Hoya filter. Each photo was exposed for 2.5 secs. Most often when shooting a timelapse we take the photos with a time delay between each shot. For this you need a shutter release cable with an interval timer on it. Or, as in my case, you can use an ND filter to get a longer exposure for each image and shoot these sequentially.
Get Lightroom and Photoshop for around £10 per month on a 1-year subscription on the Amazon affiliate links below for both UK and USA.
Watch the video here
My book
Learn Photography
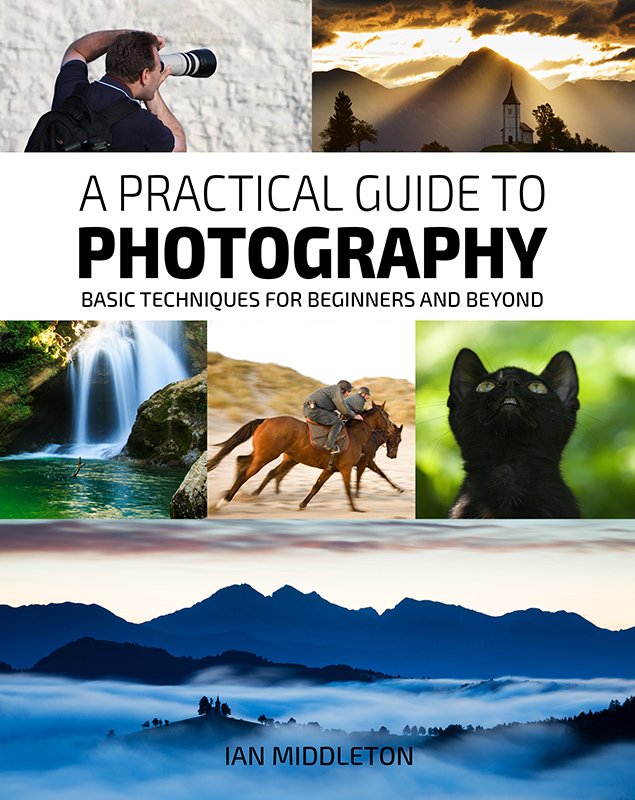
For a more comprehensive look at photography, check out my book, available to buy at Amazon.
Shedding light on all the photography basics in one book.
Want to know how to take better photos? Well, first you need to master the basic techniques. Whether you are a complete beginner or an intermediate looking to improve your photography, this book is packed with photography techniques, tips and advice for beginners and intermediates.
All the camera functions and their effects explained.

