While reviewing my website stats one day, I saw that someone had searched for the phrase “how to reduce redness in night dslr photography” and thus landed on one of my pages here. Such is the nature of Google, it probably found my tutorial on photographing stars with dslr, which, regrettably, doesn’t include an answer to this poor web surfer’s question. Therefore, I decided to rectify this, and create a short tutorial on the subject.
Why are my night photos turning out red?
Colour temperature - what is it?
All light has a colour temperature, measured in kelvin (K), which is why some light seems warmer and some colder. Typically, colour temperatures above 5000k look cooler (more blue), whereas temperatures below 5000K look warmer (more red).
Artificial light pollution from towns and cities
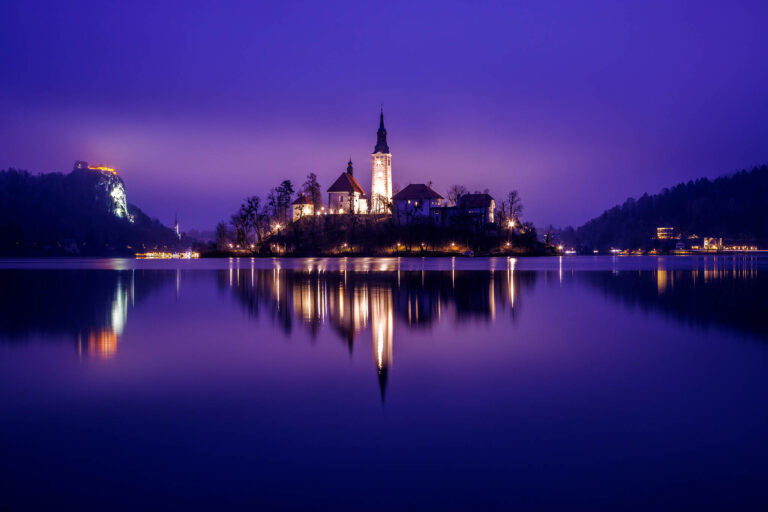
Tungsten light, which is the kind of light source used in street and home lighting, is low in temperature (approx. 2700k). Although our eyes can automatically adjust to remove the redness from the low temperature, the camera cannot. So when shot under normal settings your camera records the red of the light pollution.
Incorrect white balance setting
Your camera's white balance is designed to compensate for the differences in colour temperatures from different light sources. Therefore, you need to set your WB to match the light source.
Film or digital sensors have to be balanced to match the colour temperature of the light source, in order to produce natural looking whites. Film is typically balanced for daylight (5000k) Film users photographing indoors had to buy special tungsten balanced film.
But digital users can now balance the temperature image by image by adjusting the “white balance” settings.
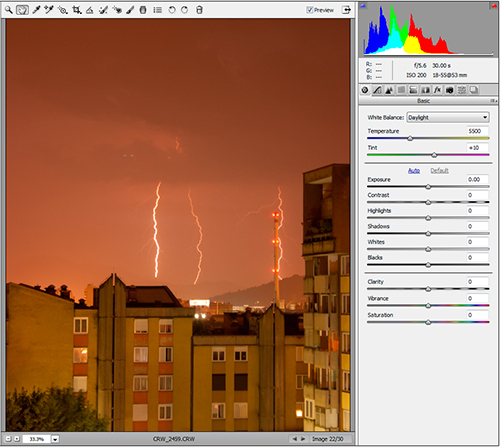
The image above was shot on the daylight setting, which is why there is too much red.
If you recognise the symbols on the left side of this chart, then you’ve already used the white balance settings, even if inadvertently. Although you can set your white balance manually to the exact temperature, this is more for advance users who want more precise settings. For most though, you simply need to set it to suit the conditions you are shooting in.
How to Fix Red Skies using White Balance
Depending on the artificial light source and atmospheric conditions, set it to either tungsten or fluorescent.
Using the Tungsten Setting for City Lights

Here, the image was shot with the white balance set to “Daylight” The redness is a result of the colour temp of the camera being higher than that the source.
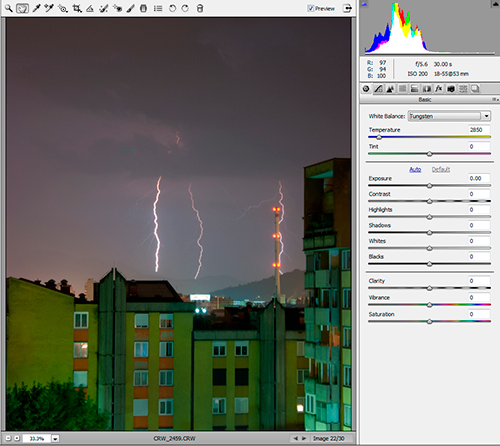
Here, the image was shot with the white balance set to “Tungsten” Now the redness has been reduced and the scene looks more natural.
Using the Fluorescent Setting for Moonlit Nights

On moonlit nights however, you not only have the colour temperature of the artificial light to contend with, but the light temperature of the moonlight. Therefore, the best setting for moonlit nights is the “fluorescent” setting.

In this case the best white balance setting for moonlit nights is the “fluorescent” setting.
Creative use of White Balance using your RAW converter to add reddness to your photo
It’s always best to shoot in RAW, one of the many advantages of which is the ability to set or adjust the white balance during post processing. Not only does it give you more control and a finer adjustment than can be done in camera, but you can also use it for creative effect. Okay, so I hear all the purists crying (“it’s cheating, you are using a computer!”) But firstly, your digital camera is a computer, but most importantly, white balance is a software adjustment, whether it be in camera or during post processing).
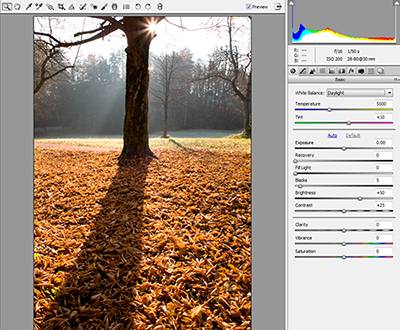
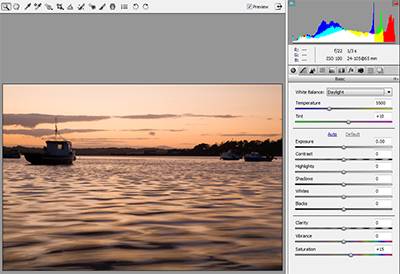
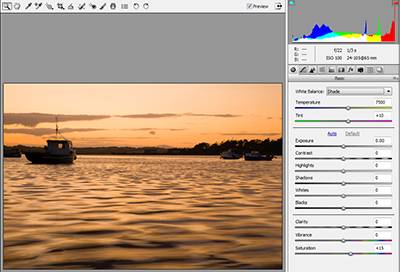
The image below was originally shot on the daylight setting, and then changed to “shade”, which is 7500k. This has enhanced the red in the leaves (perfect for autumnal shots). However, be selective with this technique, as it only suits scenes which are predominantly red or brown, such as autumnal scenes.
Use white balance to enhance autumn colours

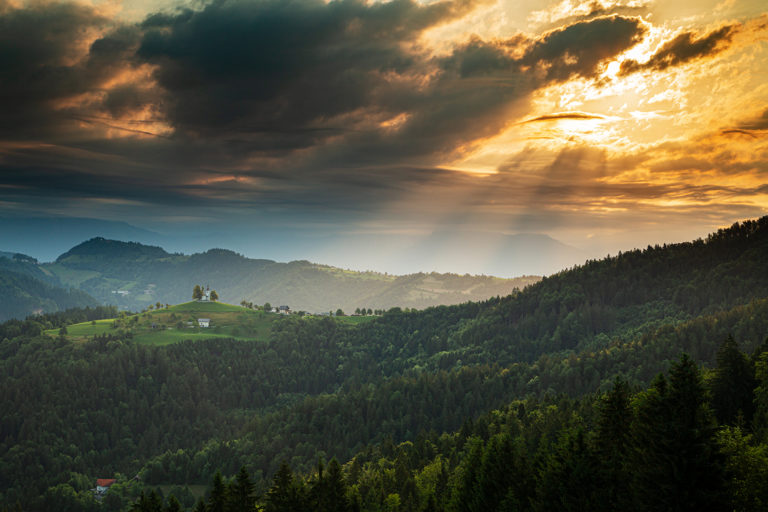
Use white balance to bring out an otherwise dull sunset
My book
Learn Photography
For a more comprehensive look at photography, check out my book, available to buy at Amazon.
Shedding light on all the photography basics in one book.
Want to know how to take better photos? Well, first you need to master the basic techniques. Whether you are a complete beginner or an intermediate looking to improve your photography, this book is packed with photography techniques, tips and advice for beginners and intermediates.
All the camera functions and their effects explained.


